Documentation
Learn and try Simple Infopanel
It is possible that you will be asked about the database or admin account during the installation. In such a case, you only need to answer 'yes' (It is necessary because I use a function for creating a default administrator account on the very first attempt)
chmod +x ./install_linux.shand then
./install_linux.shinstall_windows.bat - Go to your `YOUR-SITE.COM` or
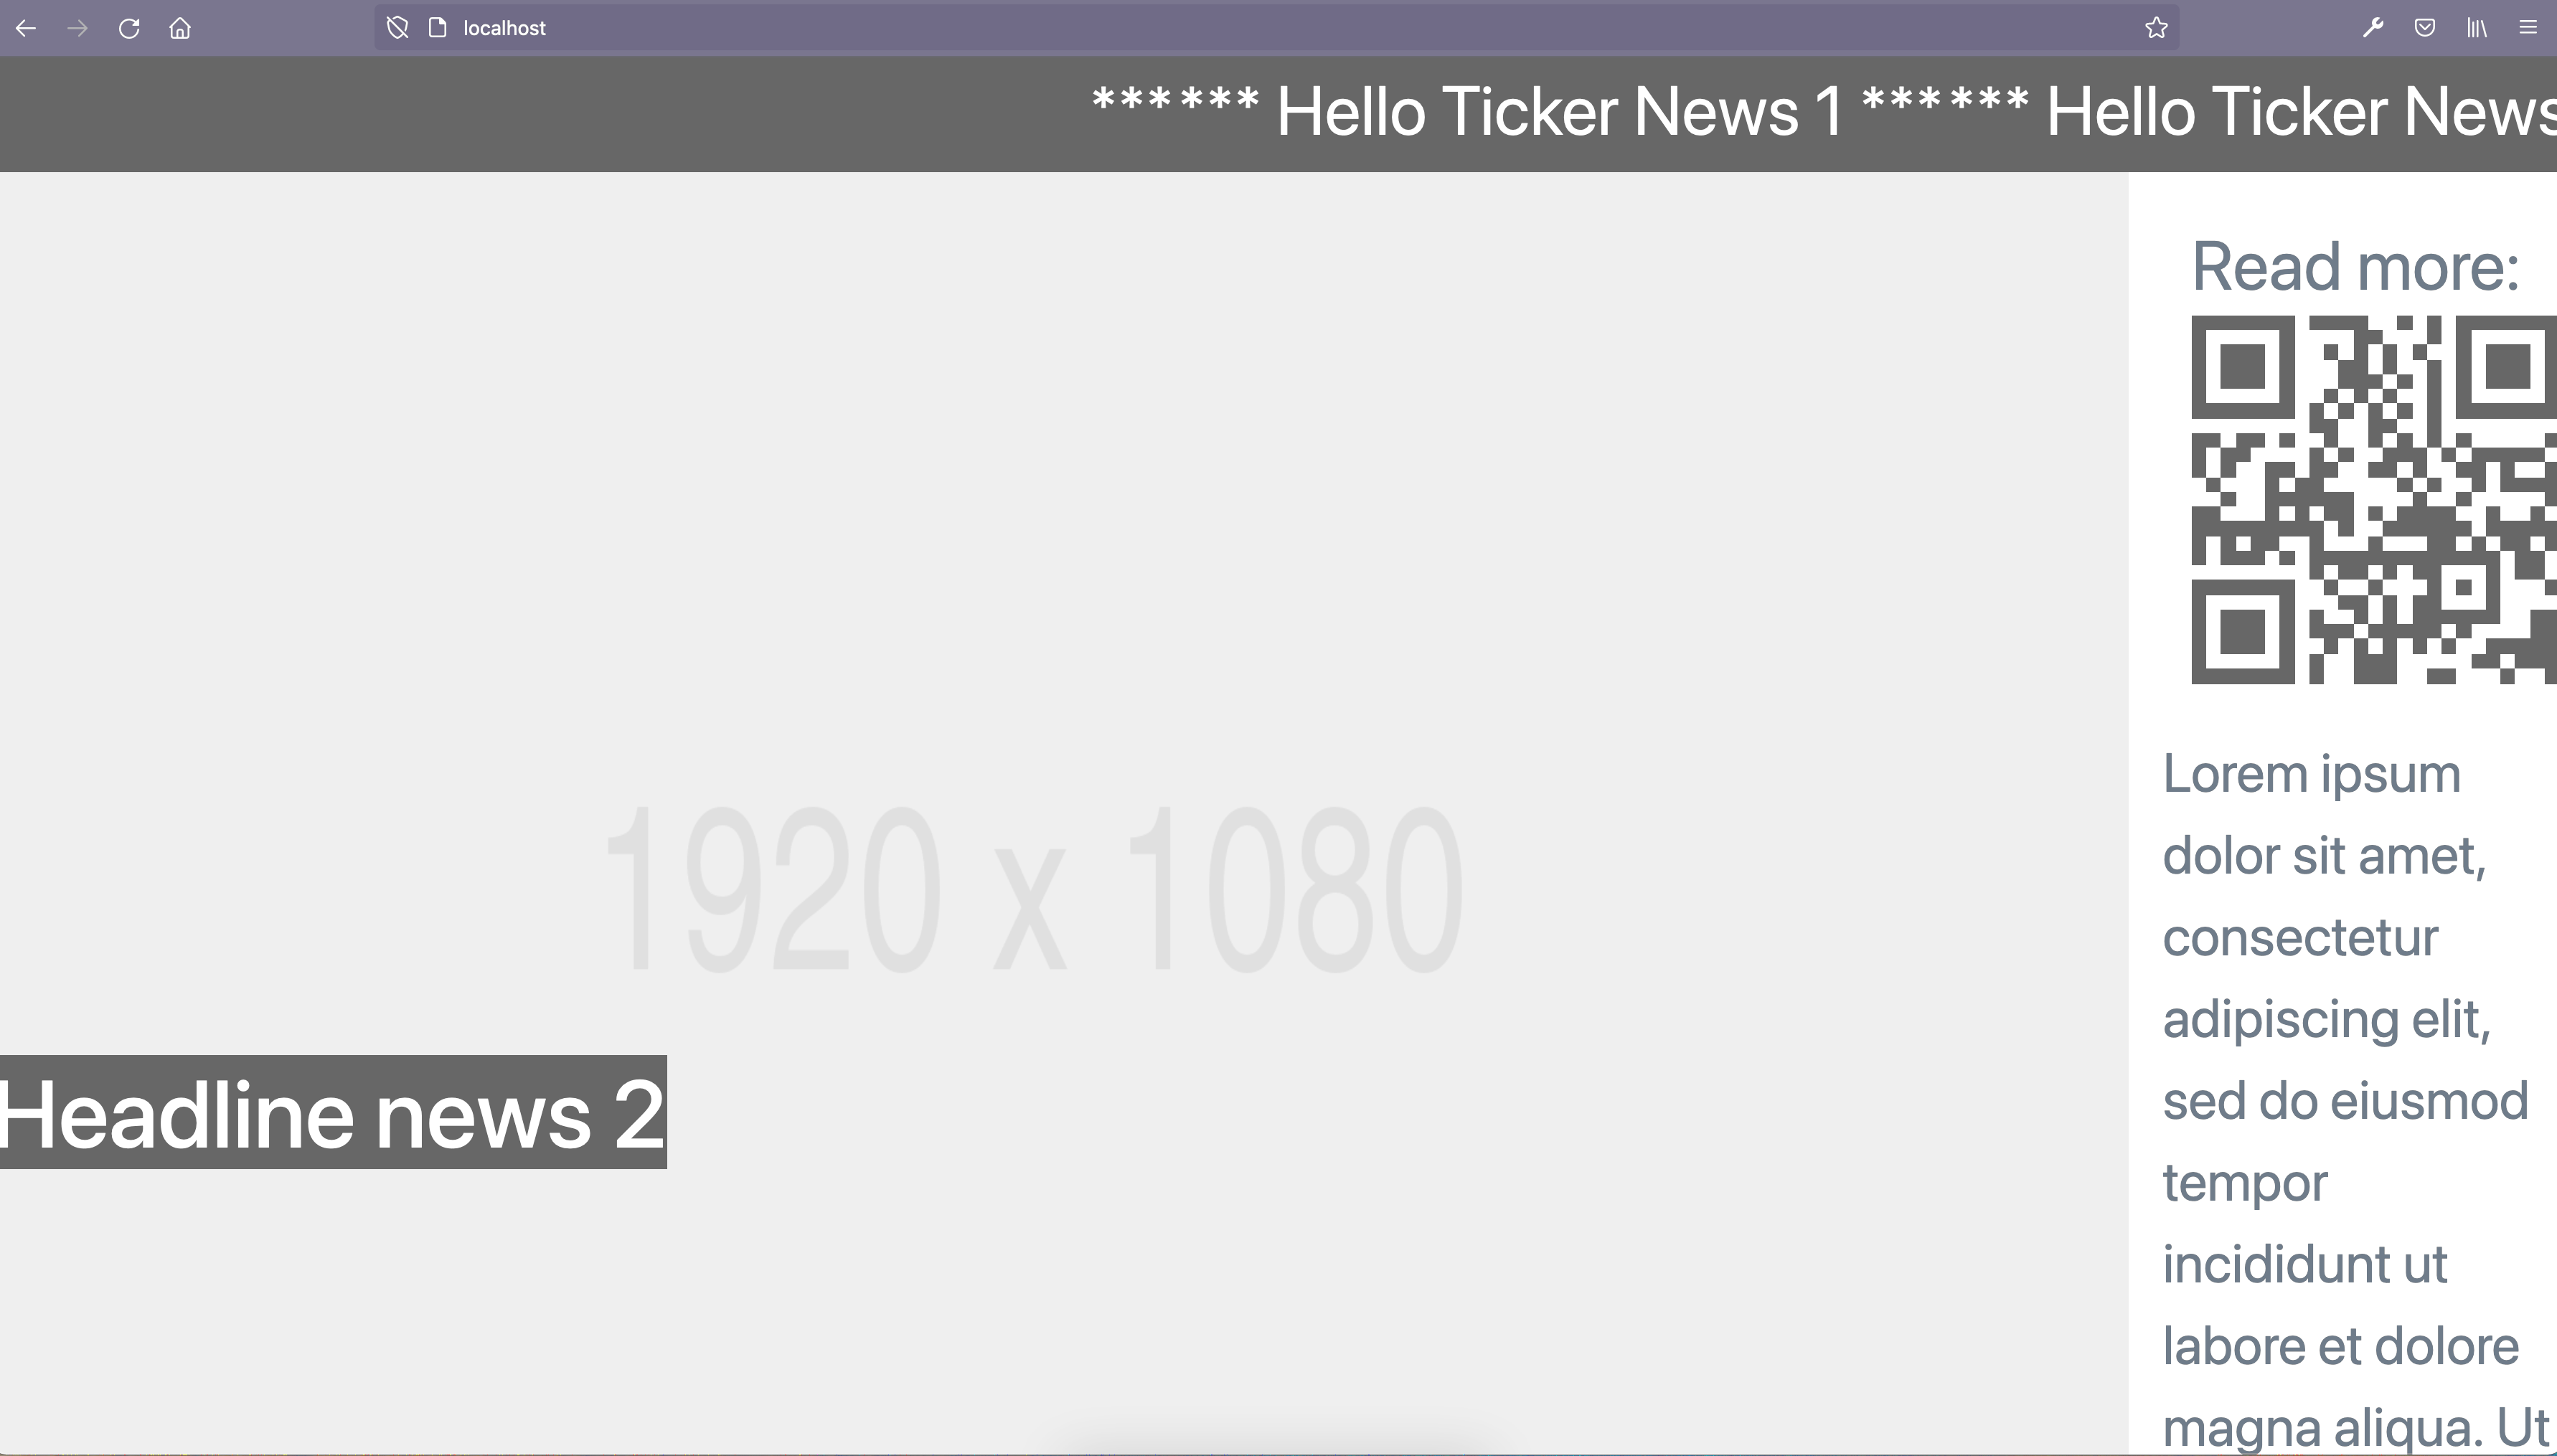
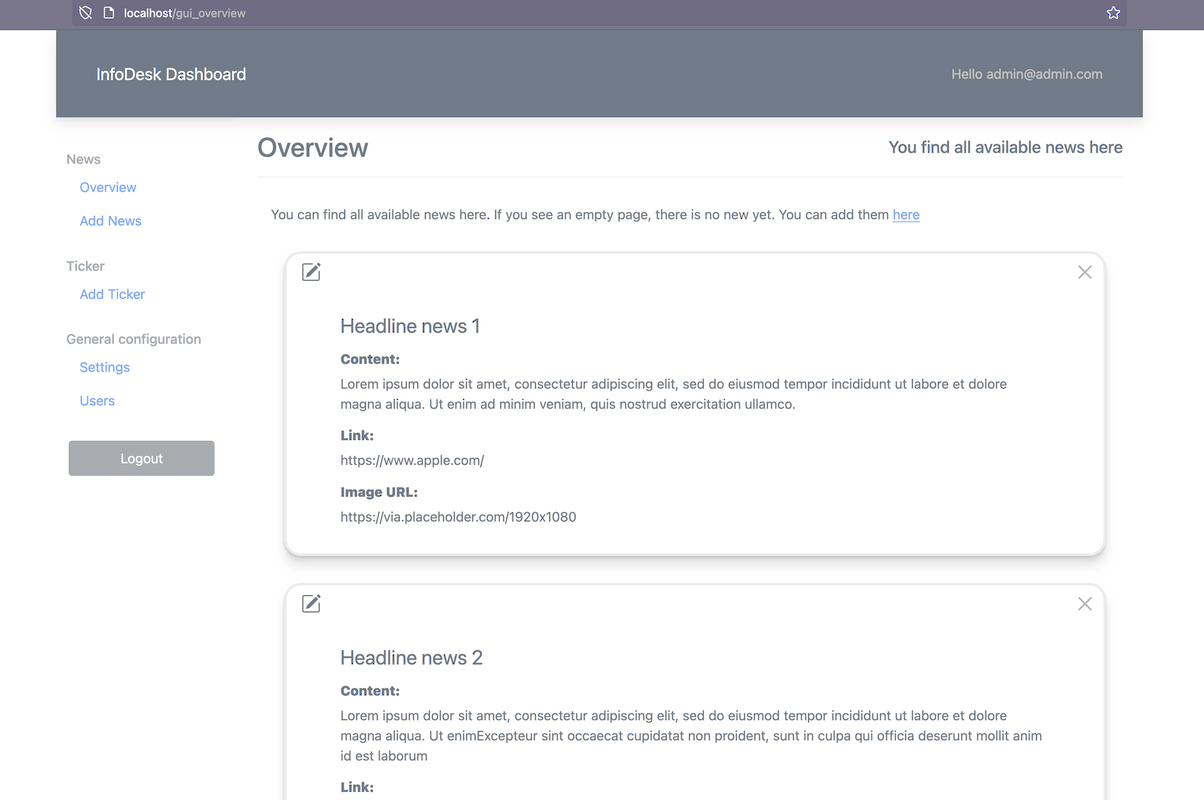
http://localhostand if the installation has been successfully finished you will see the infopanel. - Of course you can edit the content: You need to go to `YOUR-SITE.COM/login` or
http://localhost/login, edit the slides, changing the configuration and add new information as well. Also, you can activate or deactivate the ticker if necessary. - LOGIN: admin@admin.com
- PASSWORD: admin
DO NOT FORGET TO CHANGE THE PASSWORD AFTER THE VERY FIRST LOGIN!
Can I fork and develop Simple Infopanel?
Yes, sure! You can download the source code and adjust the tool for your needs. In this case you need to know at least the basics of HTML, CSS, Javascript and PHP. I also use Docker for virtualization of the server and for the database. It is required for the role concept.
I. FRONTEND APPLICATION
The frontend app is a typical react app with no routes or any addons. All used special modules will be installed automatically via the package.json file. The app has the following structure:
app/assetscss/app.css (used for the custom css in the app) - Bootstrap.css (user for the standard app's grid) - js - components (Now, there are only two basic components: layout and ticker. Layout is a "design" for the main construct grid. Ticker is a JS function for the ticker including it's source.)
config (Config.js is a default config for the app in case the source is not available. Currently, I do not use it.)
app.js (This is the main slider logic of the app. All main JS functions can be found in this file.)
index.js (This is an standard entrypoint for a typical react app. Nothing special.)
II. BACKEND APPLICATION
The backend application is a typical php symfony app without any special addons. The backend app needs a database to work, so there is a special MySQL docker container in the docker-compose.yml The app uses twig templates as an html engine.
- app/public
- css - Bootstrap separated and Main.css is for the backend GUI
- js - All JS scripts are located here
- media - Favicon and support images
- uploads - this folder is empty, but if any administrator would like to upload a new image here is a final location)
- app/src
- Controller - You will find all backend php controllers and entites for the database in this folder
- app/templates
- The app uses twig files for the frontend laout of GUI. Edit the GUI layout here
- app/.env
- Database connection defined in this file
III. REST API
The most backend functions are written in php. The frontend app uses only GET and POST requests via fetch() for getting fresh updates from config.json, data_ticker.json and data.json. Where:
- config.json - defines the main app configuration, for example, how long one slide will be showed.
- data_ticker.json - defines the ticker information. Do not edit it manually!
- data.json - defines the content of slides. Do not edit it manually!
The concept is pretty simple: Backend generates some config files in json format according to the php functions.
The source for the frontend app can switched any time in app/assets/app.js or app/assets/components/ticker/MoveTicker.js
Continue reading
For deployment scenarios see Use Cases. For operations, read Troubleshooting and the Security Checklist. For additional links, open Resources.